 BACK 40
Moving from a spreadsheet, Square, Shopify or Etsy? Tap Import from a spreadsheet on the Products page (owners). Upload the CSV export (or our template), check the preview of what will be added and what already exists (matched by SKU or name), then import. Nothing is saved until you confirm. Rows with the same name and different options become one product with options; photos and tax settings are added afterwards.
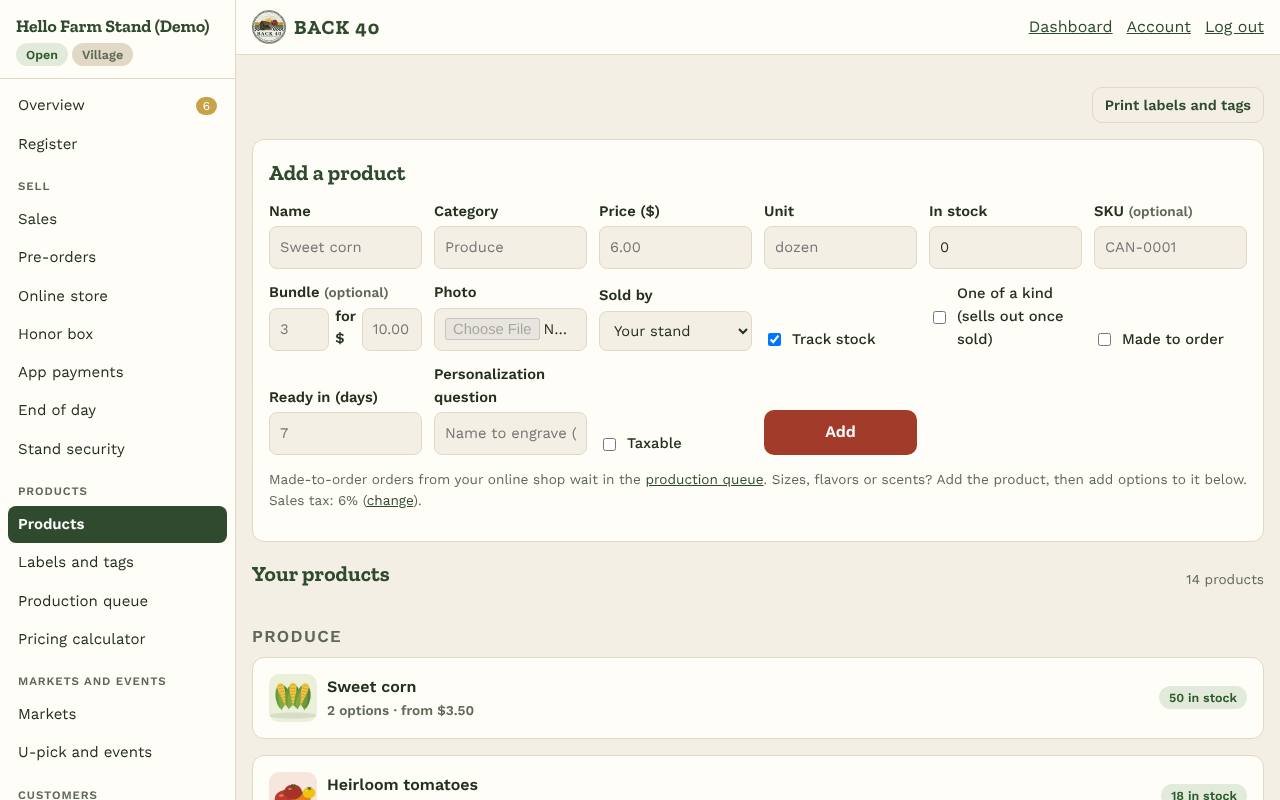
- Add a product under Products: name, category (Produce, Eggs, Baked goods…), price, unit (each, lb, dozen, jar, or type your own), how many you have, and optionally a photo. Your checkout groups products by category.
- Options: selling sizes, flavors or scents? Open the product and use Add option (for example Lavender, $16). Each option has its own price and stock. The first time you add one, the product's original price and stock become an option called "Standard"; rename it (for example "Vanilla") or remove it.
- Photos: add or replace a photo from the product's card. Phone photos are fine; they're resized automatically.
- Sales tax: set your rate in Settings (up to three decimals, like 8.875%; Help me find my rate suggests your state's rate from your address, and you add your county and city tax after checking it with your state), then tick Taxable on each product that's taxed. Tick Price includes tax if your sign price already includes it; otherwise tax is added at checkout. Receipts show the tax.
- In season: untick it to hide a product from customers without deleting it.
- Bundles: enter a bundle like 3 for 10.00 on a product. Every 3 ring up at $10, the rest at the regular price.
- Sold by weight: use lb, oz, kg or g as the unit, and the register asks for the weight.
- Track stock is optional per product. When it's on, each sale lowers the count (for each option) and you get an alert when it runs low (you set the level in Settings) or sells out.
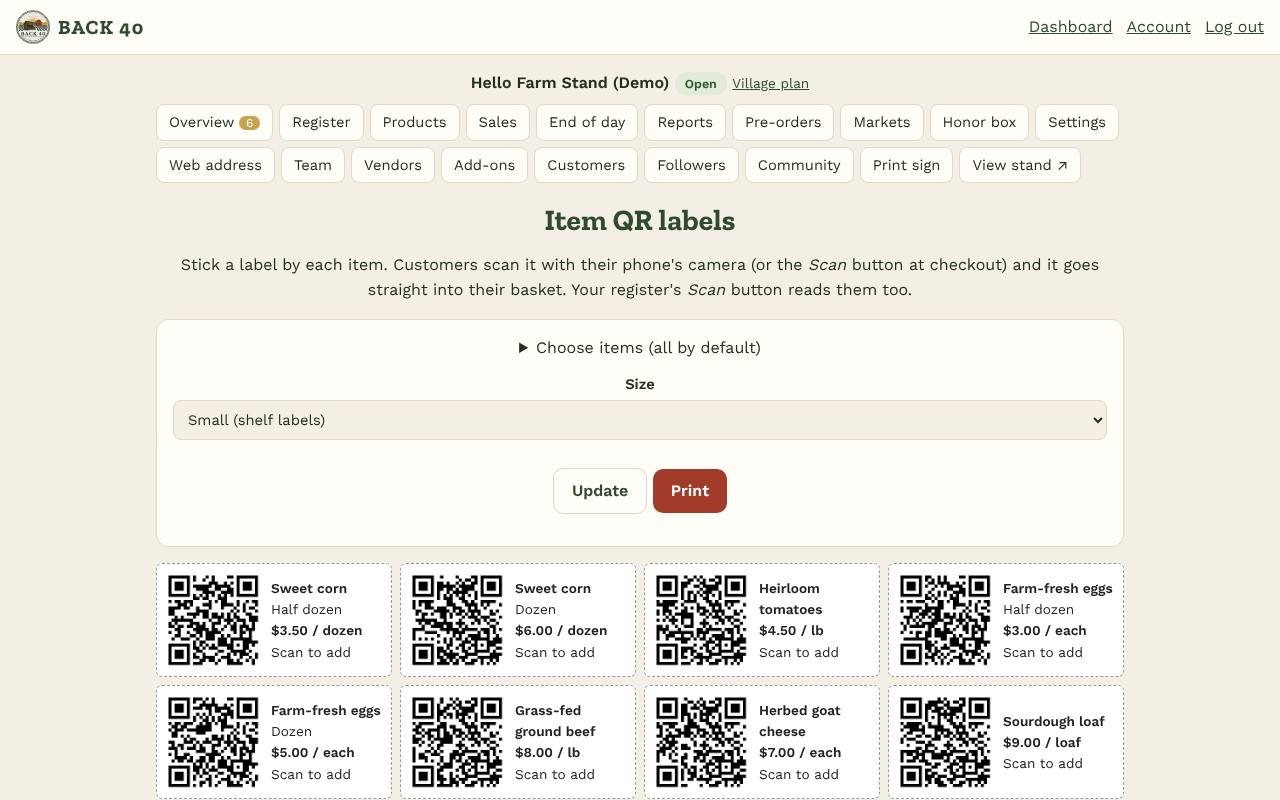
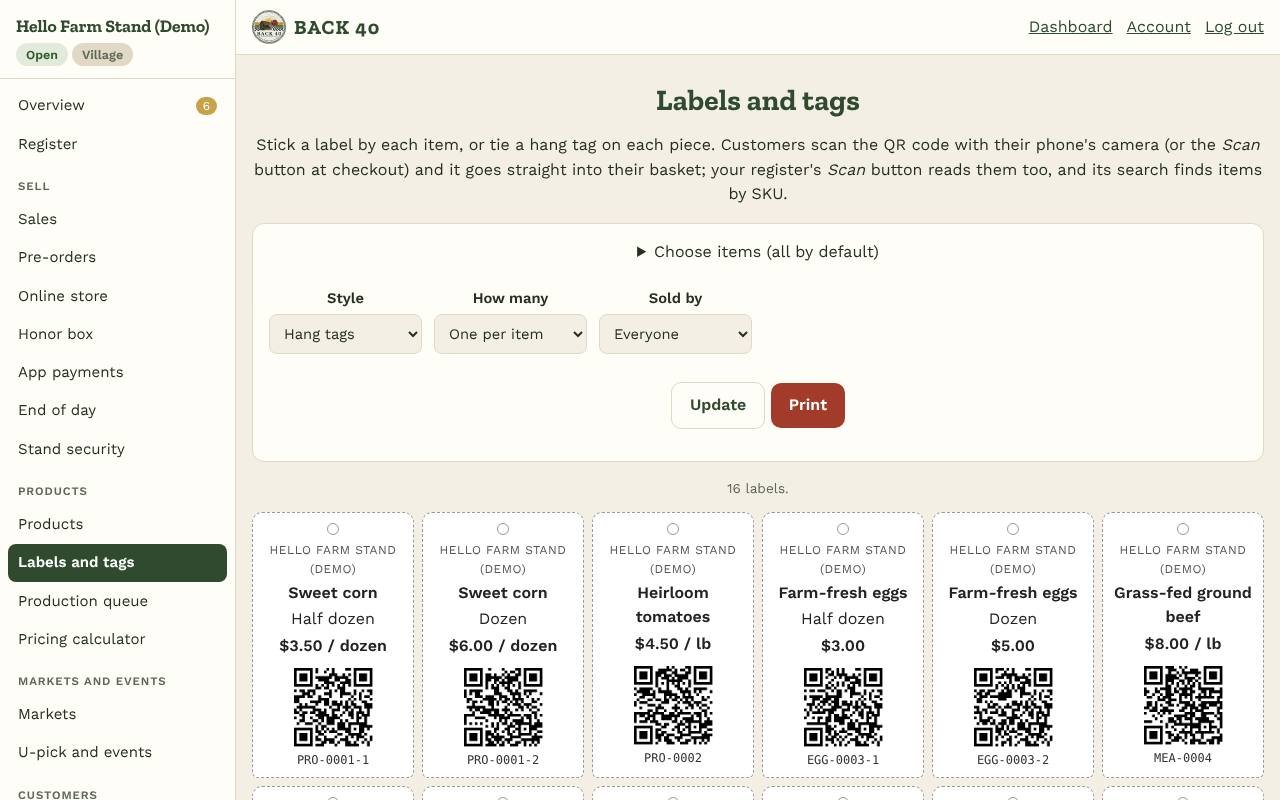
- Labels and hang tags: tap Print labels and tags on the Products page. Choose shelf labels, large signs or hang tags (your stand's or the vendor's name, the item, price, QR code and SKU, with a punch-hole mark), one per item or one per piece in stock, and all items, the ones you pick, your own or one vendor's (vendor tags carry a vendor code like V12). Up to 500 per print.
- SKUs: give a product a SKU when you add or edit it, or tap Add SKUs to them on the labels page to fill in the missing ones from the category and item number (CAN-0012). Options without their own SKU print as the product's plus the option number (CAN-0012-1). The register's search finds items by SKU.
- Scanning: customers scan a label with their phone's camera and the item goes into their basket at your checkout; scanning more labels adds to the same basket. The checkout and the register also have a Scan button that reads labels with the camera.
- Use the quick buttons (−5, −1, +1, +5, +12) to restock without typing. Staff can use these too.
- Stock history: every change (sale, pre-order, cancellation, restock, count) is logged with who made it. Open a product and tap Stock history.
- Handmade pieces: tick One of a kind for a single piece: its stock is 1 and it sells out as soon as it sells, everywhere. Tick Made to order for pieces you make after someone orders: add Ready in (days) and, if you personalize, a question like "Name to engrave". In your online shop the customer sees the lead time and answers the question; the order gets a promised date and goes into your production queue.